3D Laser Scanning Quality Control and Assurance
The integration of 3D laser scanning technology significantly accelerates CAD file development and enhances reverse engineering processes. However, 3D laser scanning quality control applications extend beyond these areas, playing a crucial role in data verification and quality assurance.
3D laser scanning serves as an indispensable tool for quality control and assurance, offering the capability to detect microscopic damage, validate dimensions, and identify discrepancies when compared to CAD models. This precision is essential for ensuring product integrity and safety before distribution. 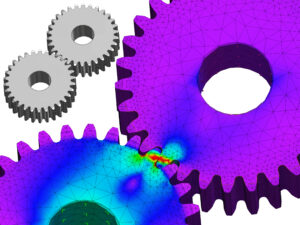
Enhancing Through 3D Laser Scanning Quality Control
Implementing robust quality control procedures sets businesses apart in competitive industries. Customers prioritize high-quality products and appreciate transparency through comprehensive quality reports.
Industries such as aerospace and large-scale manufacturig rely heavily on precise 3D laser scanning systems. For businesses in these sectors, having top-tier 3D laser scanning technology, advanced software, and the expertise to identify critical data points is paramount to demonstrating quality.
Selecting the Right 3D Laser Scanner
The market for 3D laser scanners ranges from high-end systems costing six figures to basic smartphone apps. The quality and precision of the scan data vary significantly across this spectrum.
For 3D scanning quality control purposes, high-precision scanners are essential to detect minute discrepancies that might go unnoticed otherwise. Advanced scanners also come with software capable of detailed data analysis, including color mapping and whisker plots.
While various price points are available, it is crucial to ensure that lower-cost options do not compromise precision. The required tolerance levels of your product will determine the necessary accuracy of the scanner.
For instance, while a plastic toy submarine may not need the stringent tolerances required for an aerospace hydraulic component, consistent quality remains important for customer satisfaction.
Implementing 3D Laser Scanning Quality Control
Once you have invested in a 3D laser scanning system, proper training is essential. Metrology-grade systems typically come with provider training sessions, although mastering the scanner’s full capabilities requires regular use.
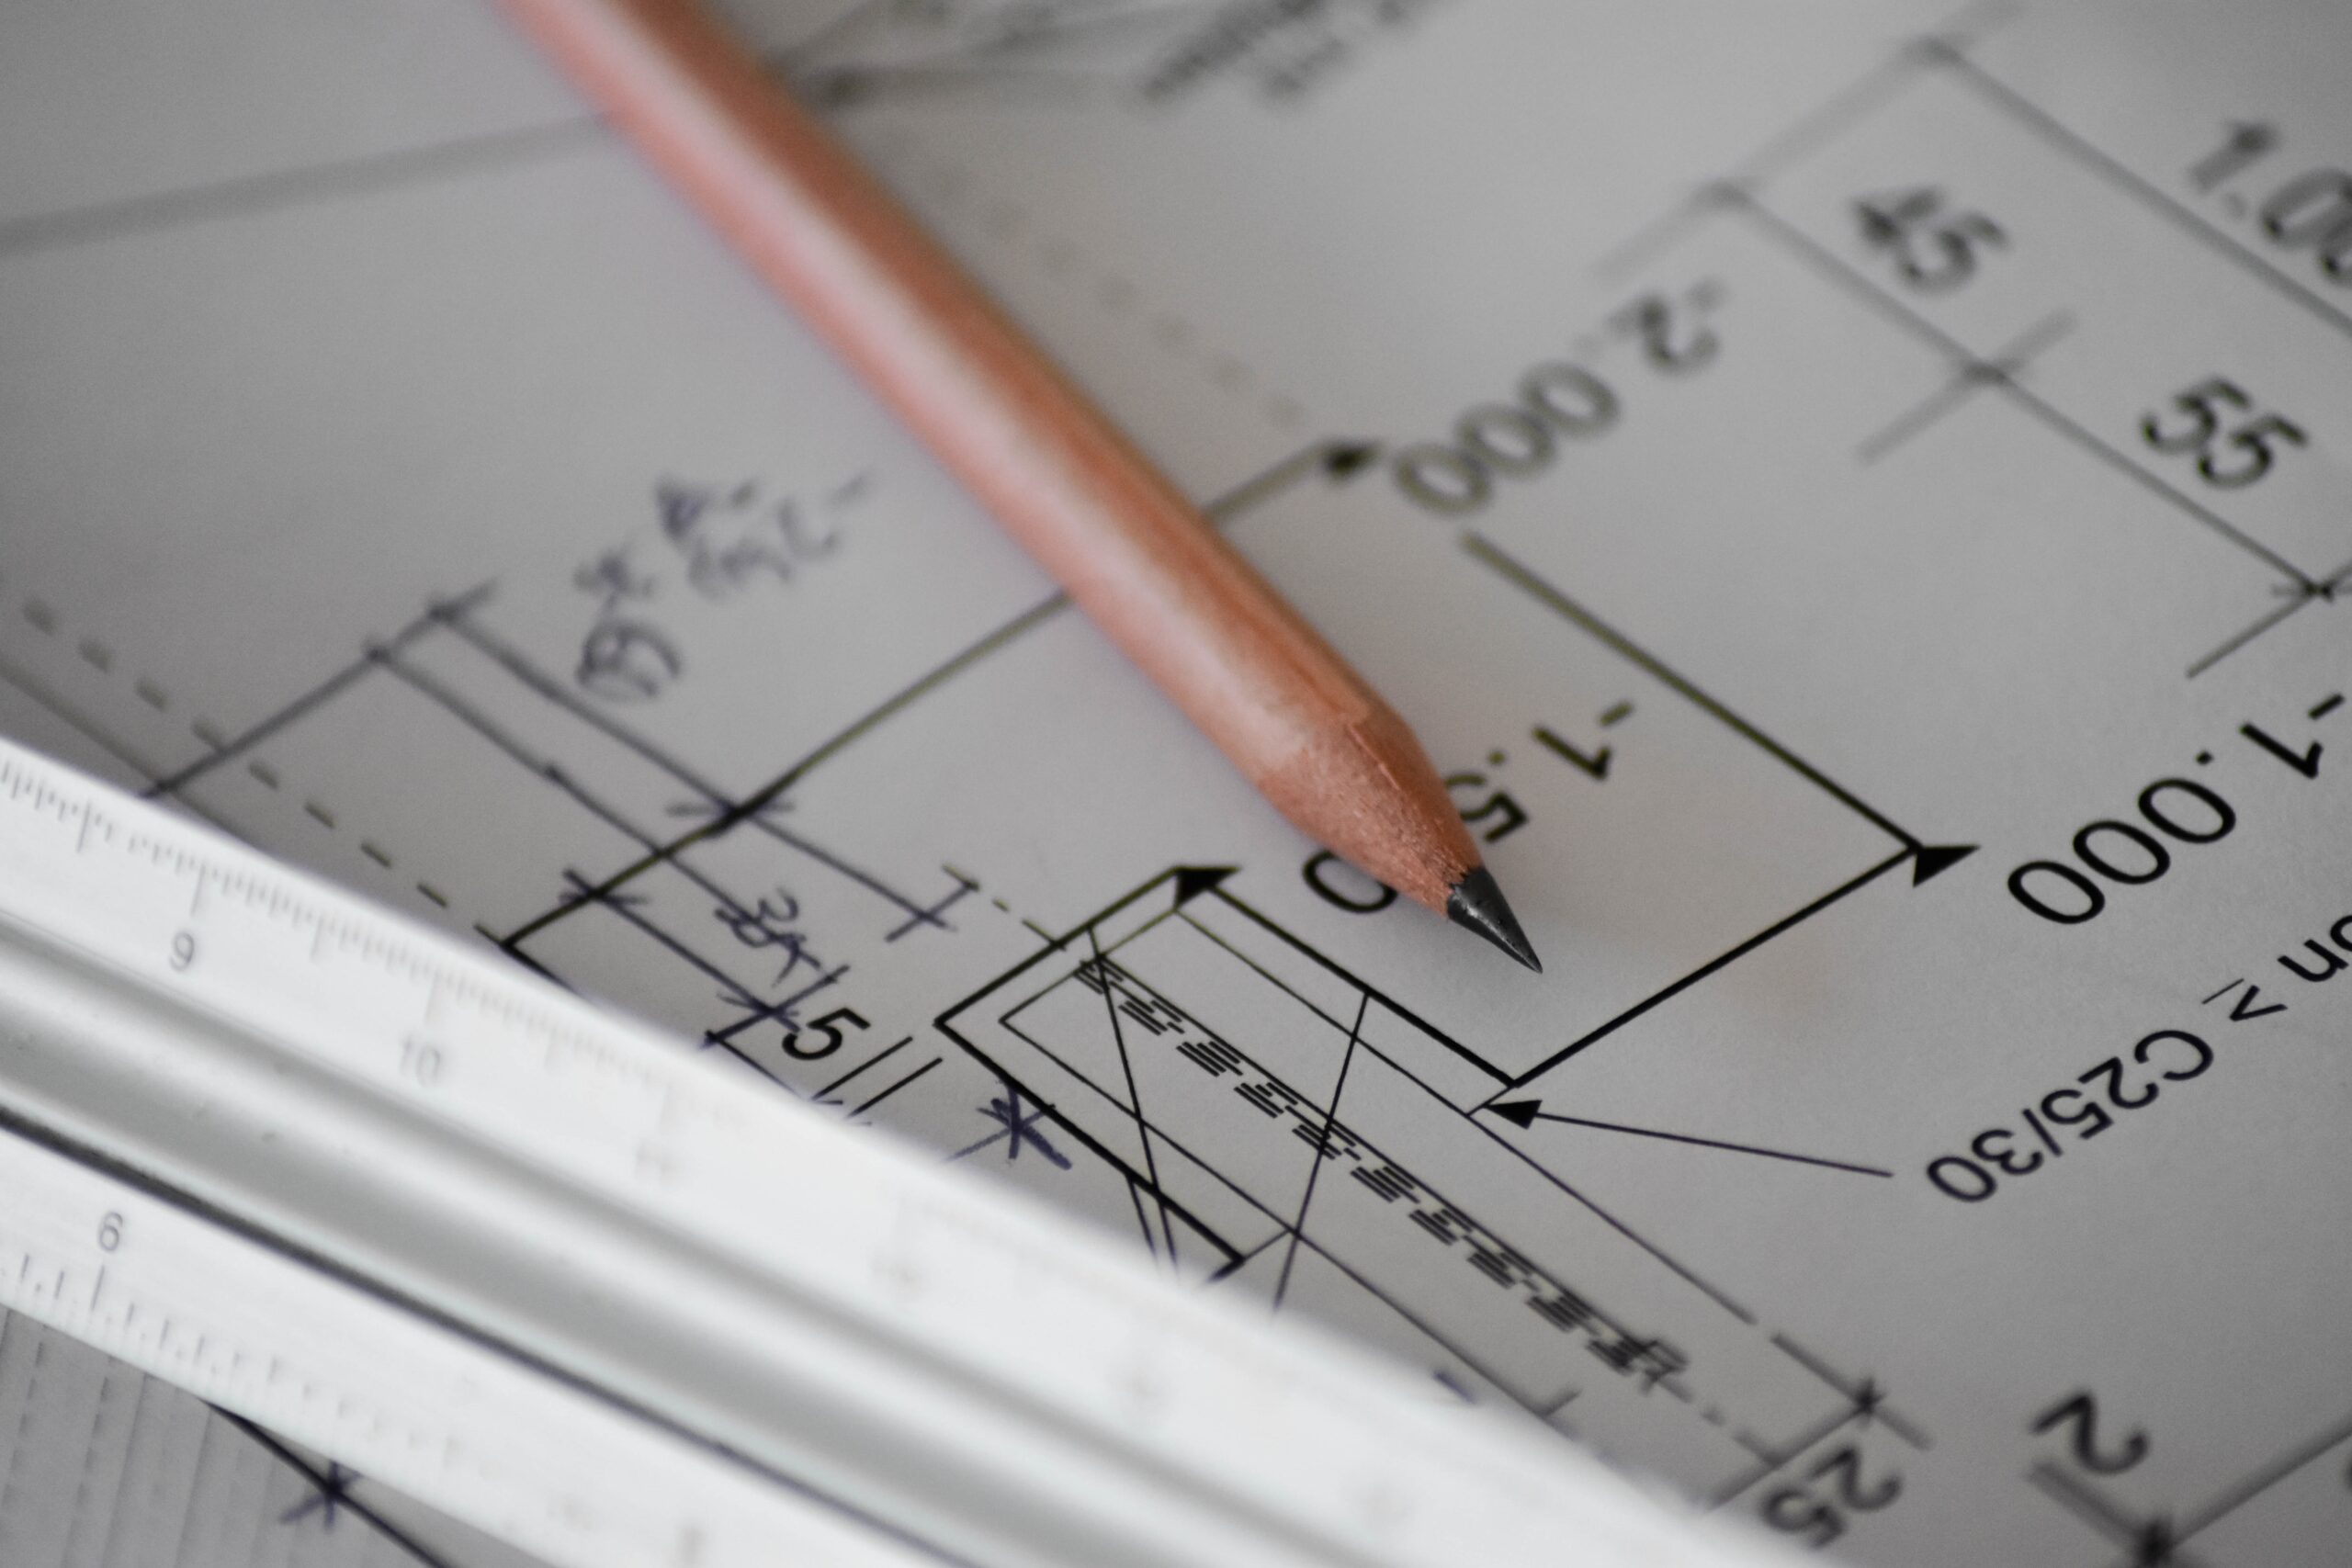
To begin scanning for quality control, identify key design elements and dimensions critical to your product’s performance. 
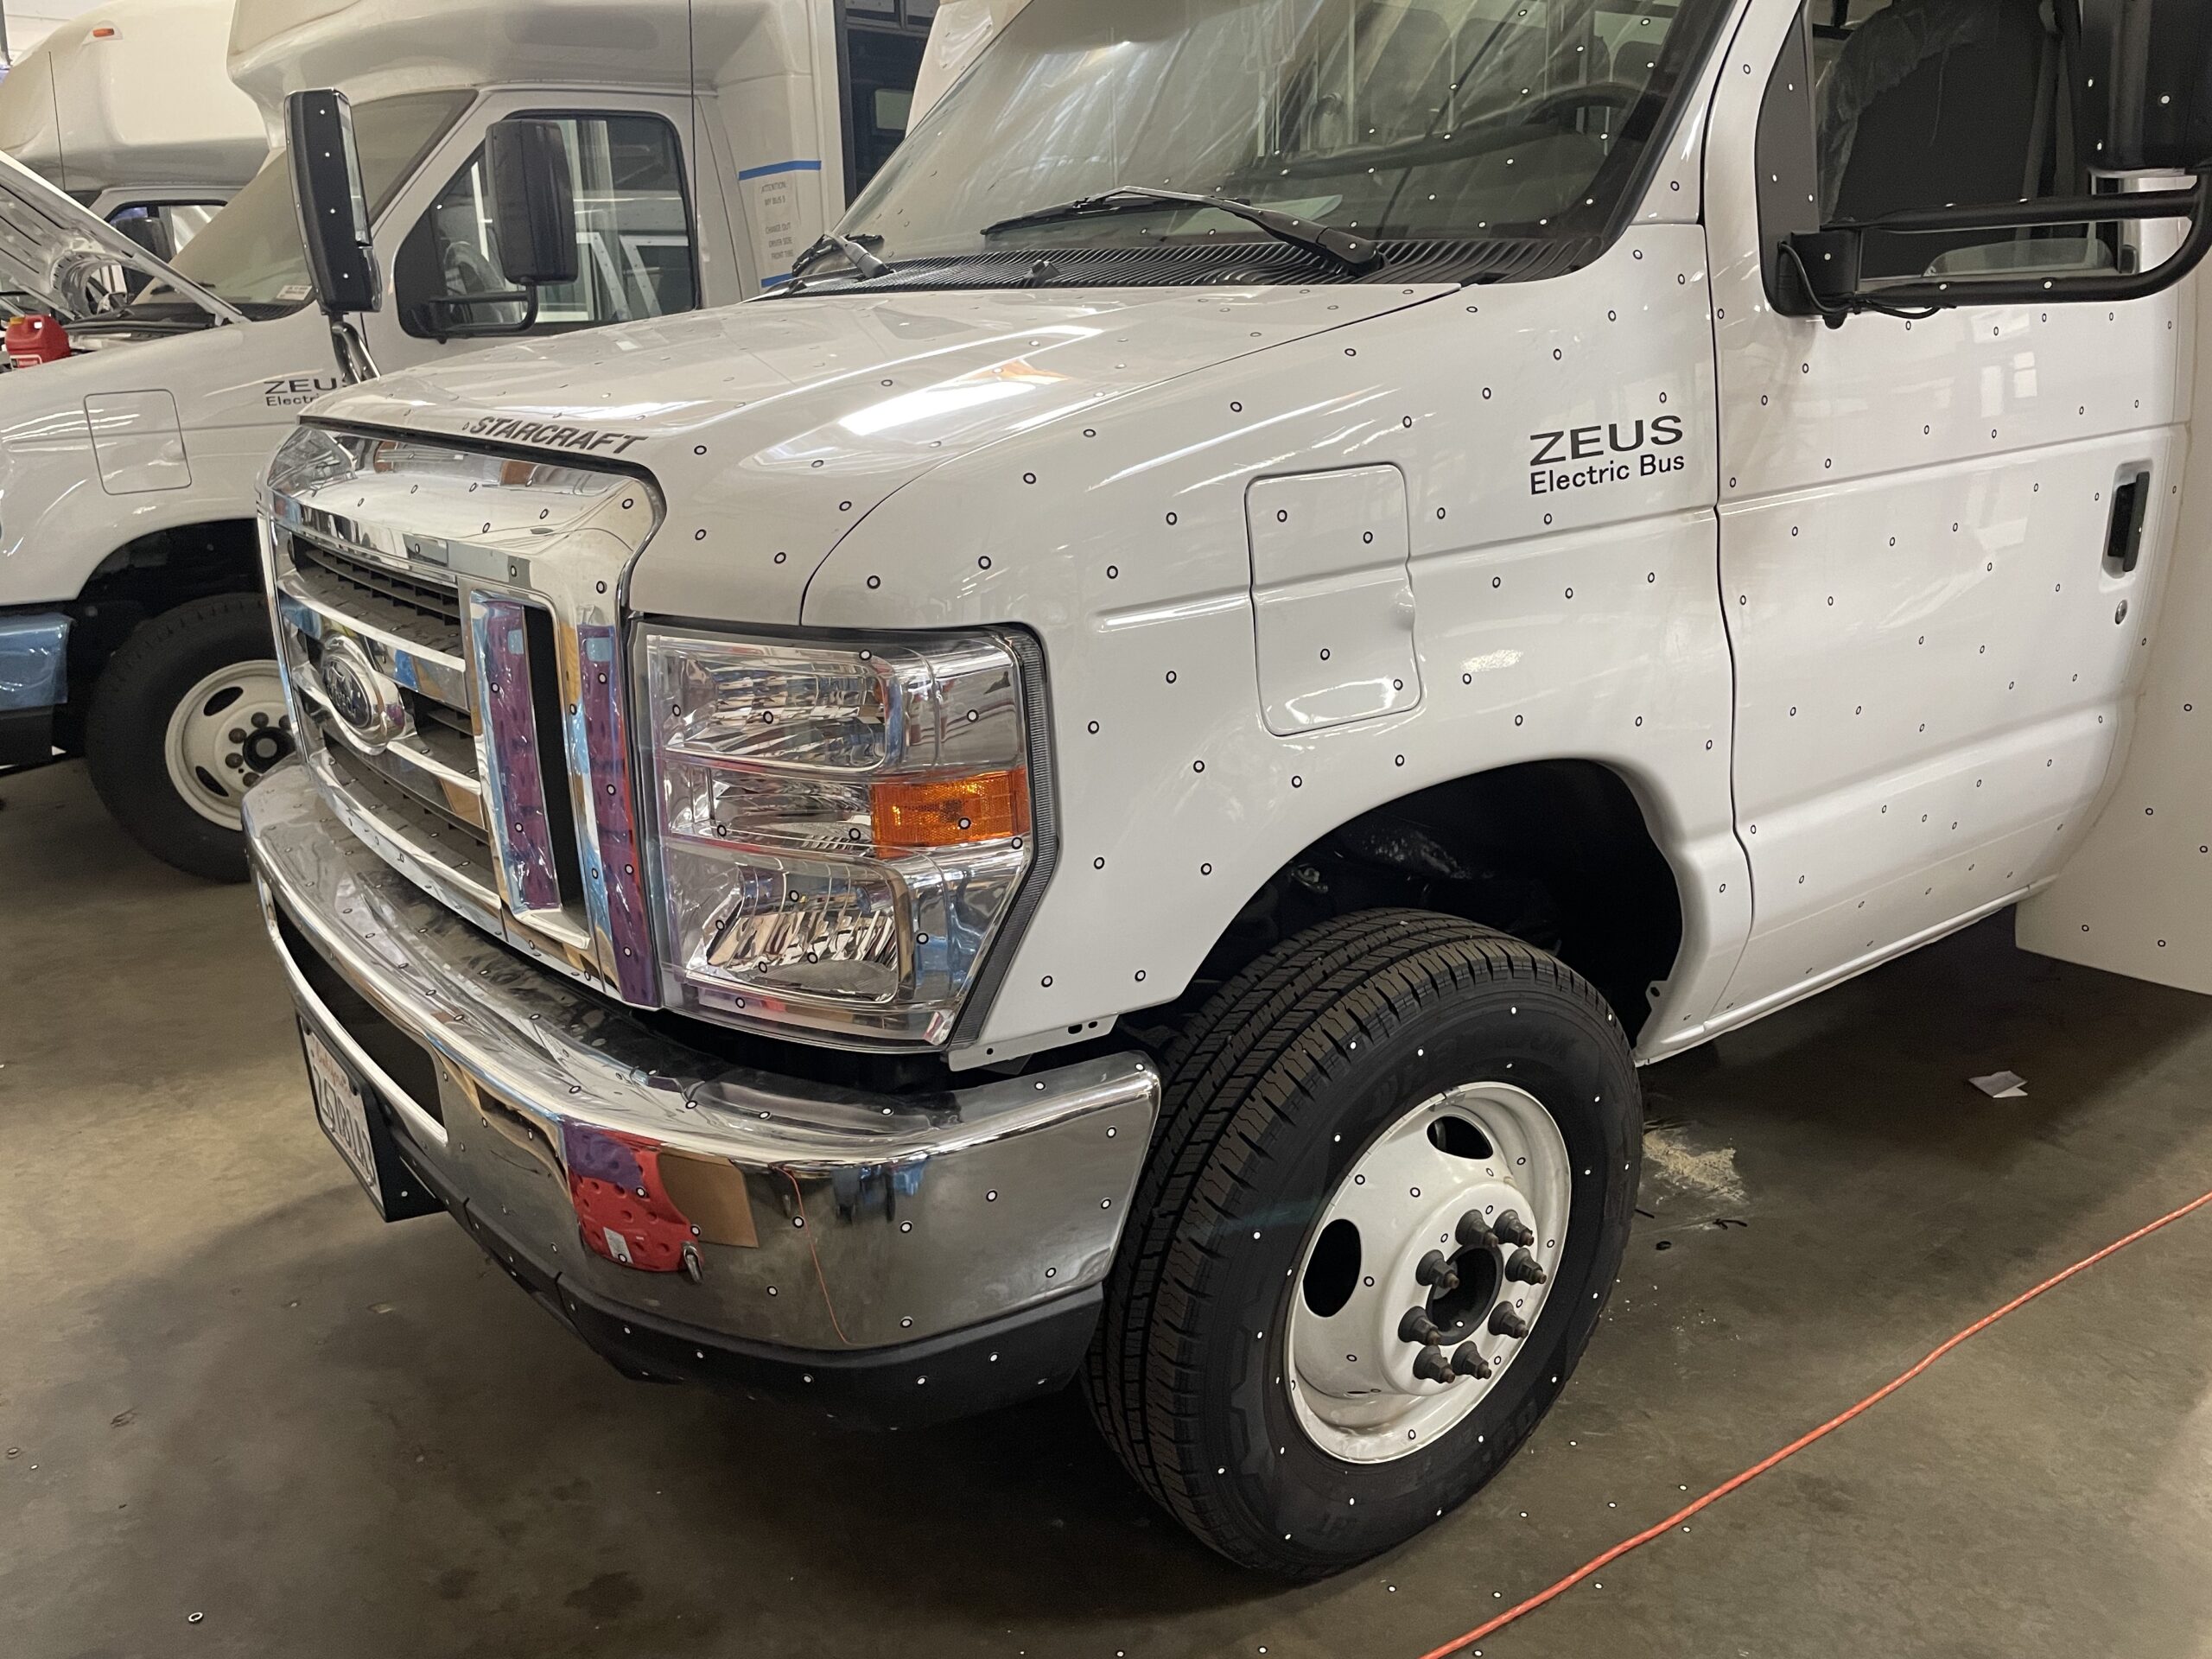
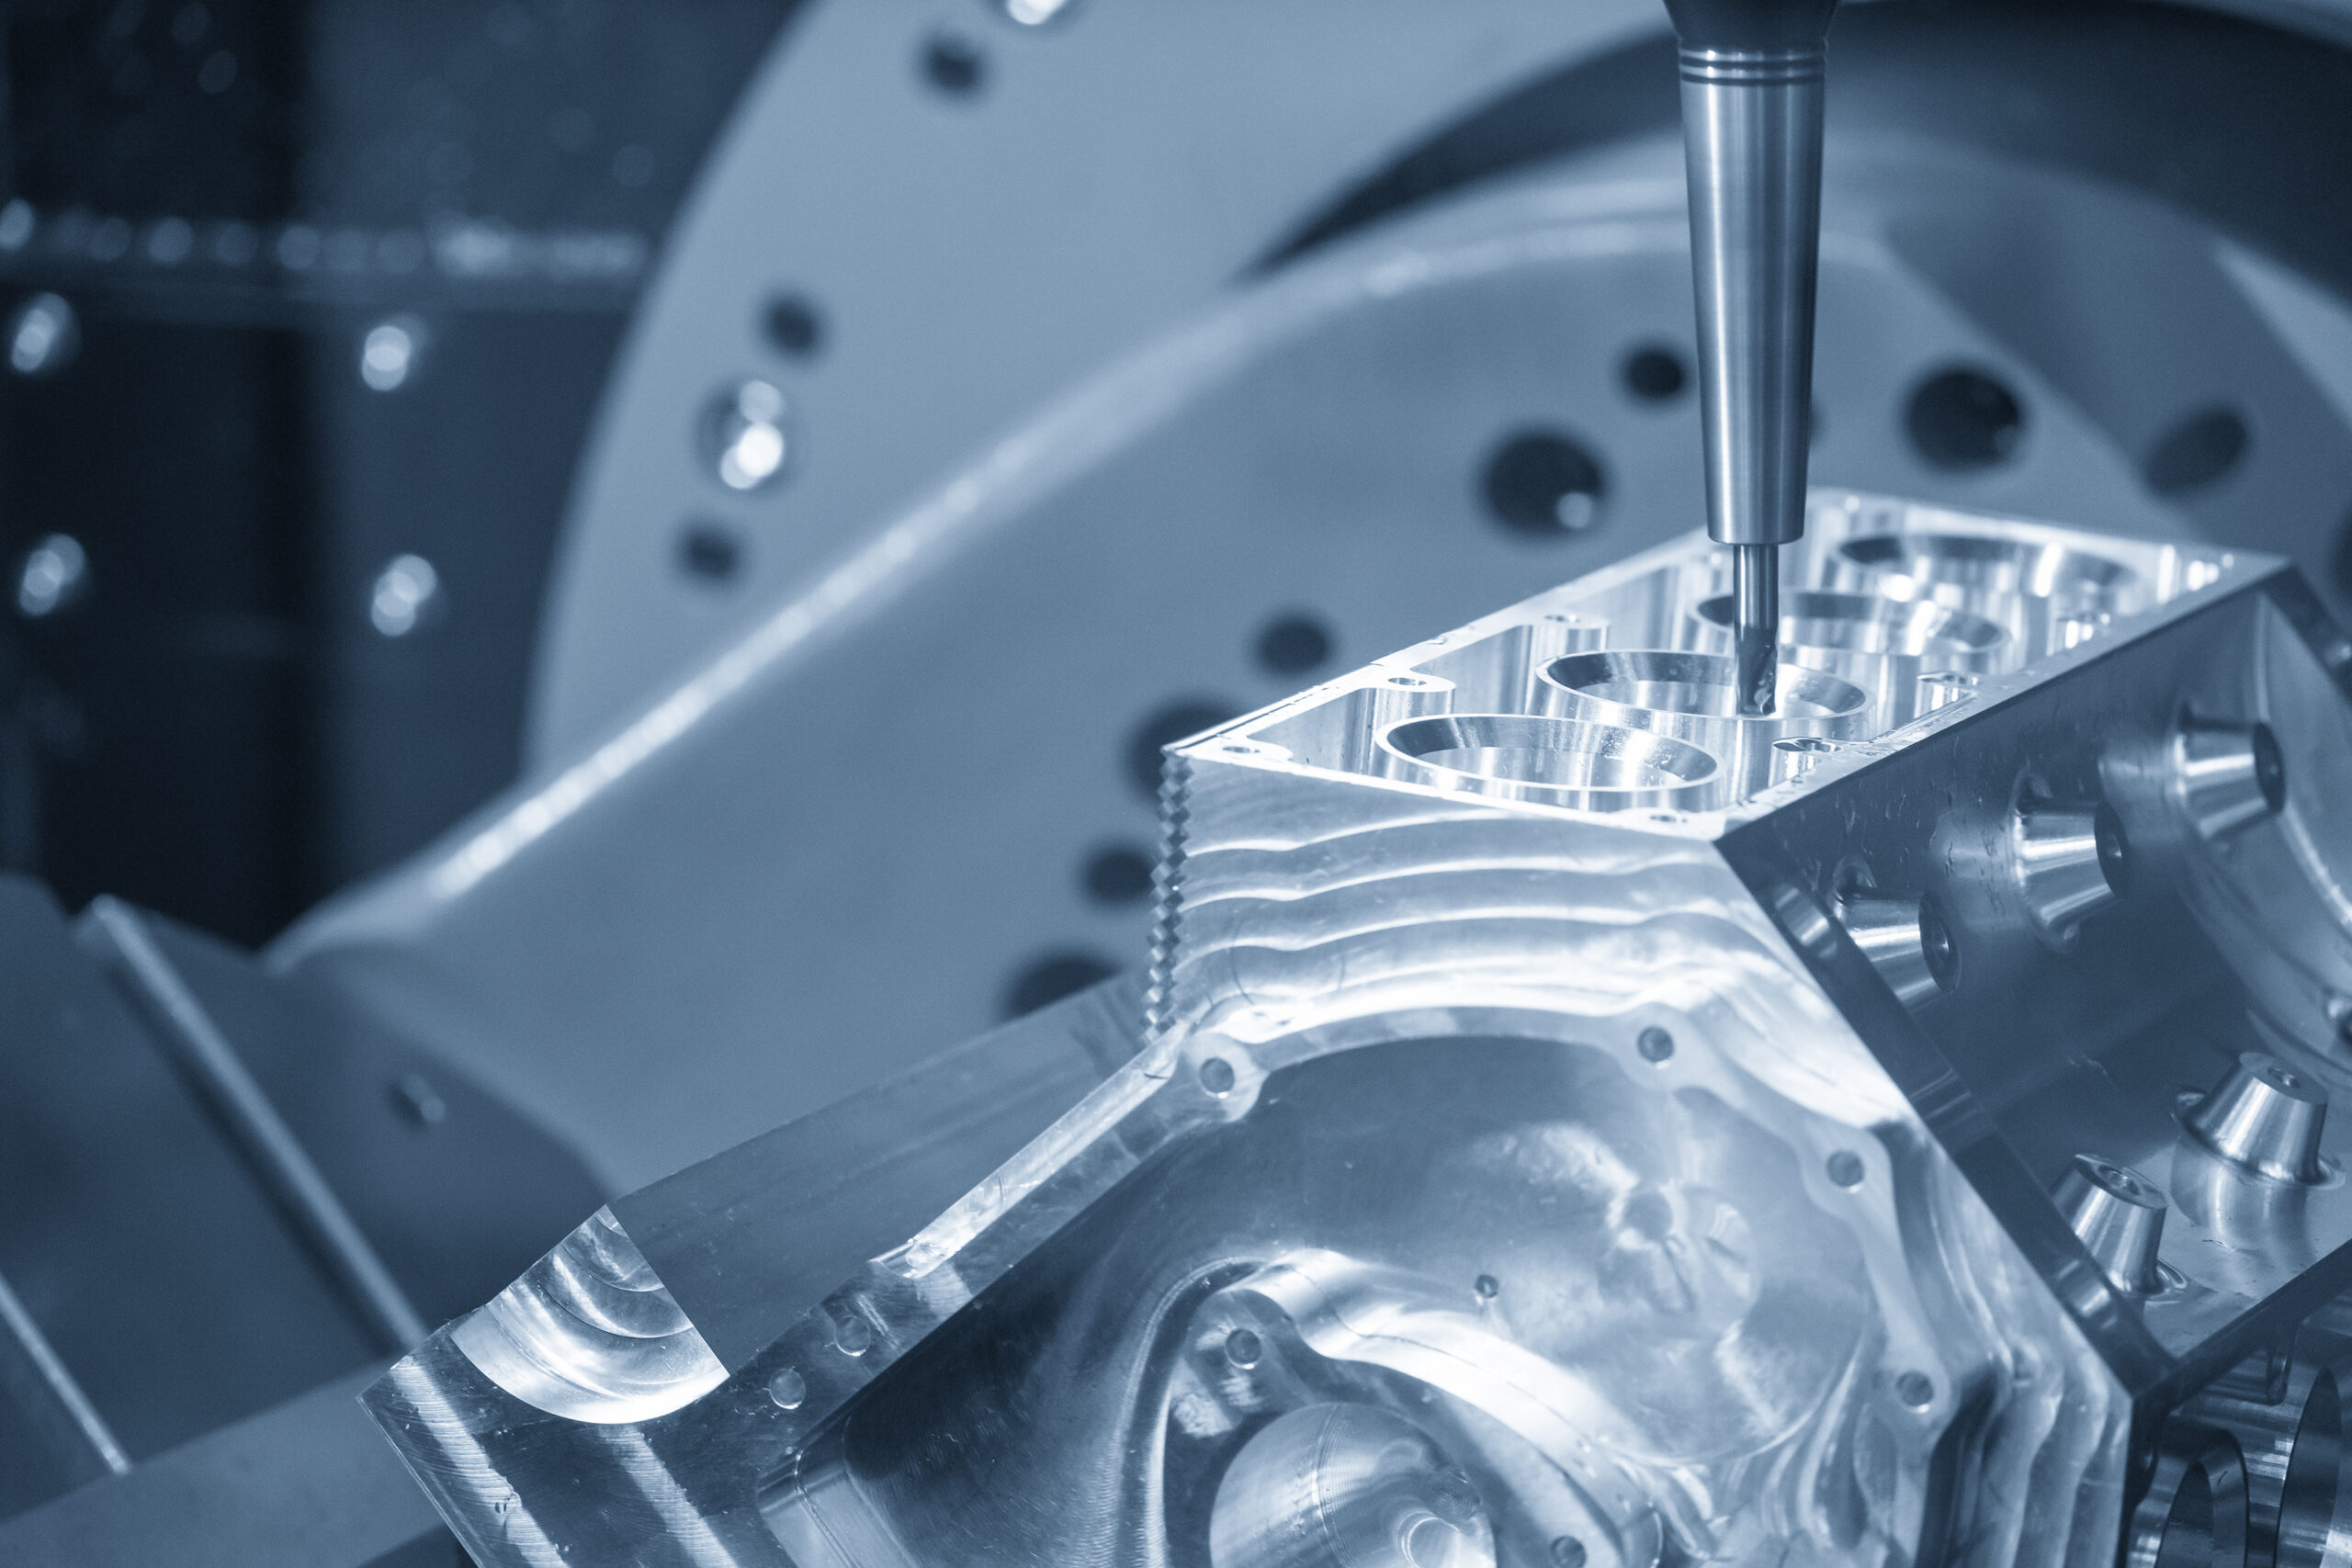
For example, an injection molder might need to verify there is no excessive shrinkage before producing large batches, or a vehicle manufacturer might check bolt hole dimensions. Scanning these critical features rather than the entire product can save time while still ensuring quality.
Analyzing Scan Data for Quality Assurance
Investing in a 3D laser scanner also involves purchasing robust software capable of comprehensive data analysis. Companies like Creaform offer software such as VX Elements, which includes various applications for quality control, including heat mapping and dimensional analysis.
After scanning, initial data extraction is typically the quickest method to assess quality control results. This involves creating geometric elements to measure and compare against design specifications. Alternatively, superimposing the scan data over the CAD model allows for instant identification of inconsistencies.
Heat mapping, though more time-consuming, provides a visual representation of production consistency. By setting acceptable tolerances, this method highlights any deviations, and software tools can provide precise measurements for specific surfaces.
Presenting 3D Scan Data Results
After gathering scan data, it is important to present the findings effectively. Identifying acceptable and unacceptable product characteristics is crucial. Using software like Microsoft Office, you can create graphs, spreadsheets, and visual aids to document and communicate results.

During the data extraction process, taking screenshots and organizing them into product-specific folders can help streamline reporting. Although some 3D scanning software lacks built-in reporting features, manually compiling this data ensures comprehensive documentation.
Leveraging Third-Party Services for Quality Control
Many companies now seek third-party 3D laser scanning services to ensure unbiased quality control, especially when parts are sourced globally. This approach prevents time loss due to receiving out-of-spec components and enhances confidence in product quality before shipment.
Engaging third-party services, like those offered by Tangent Solutions, provides an objective validation of product quality. Our 3D inspection services benefit both suppliers and customers by establishing clear tolerance standards and fostering strong business relationships.
In summary, 3D laser scanning for quality control is a critical service provided by companies like Tangent Solutions. By leveraging advanced data analysis tools, such as heat mapping and data extraction, businesses can ensure the highest standards of product quality and integrity.


