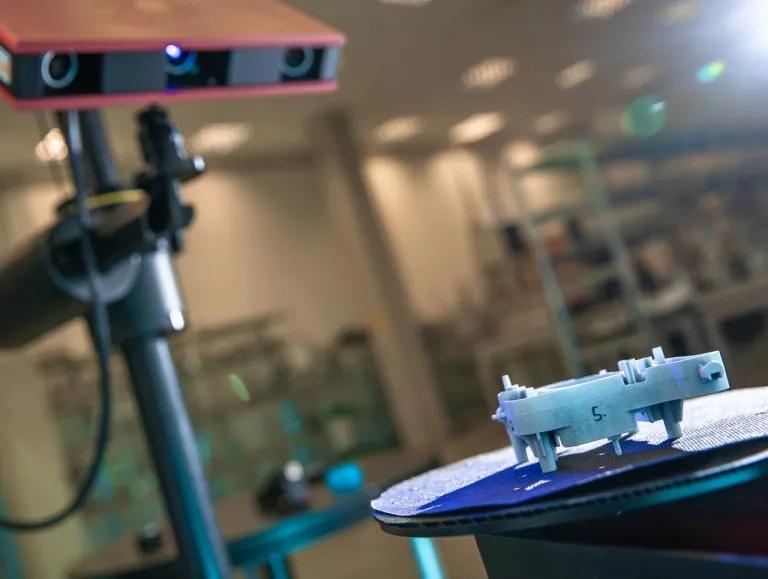
The 3D laser scanning process dramatically speeds up CAD file development and for reverse engineering purposes but how do I use 3D laser scanning for quality control and quality assurance?
3D laser scanning is a vital tool for quality control and quality assurance applications as the 3D scan data can show microscopic damage of a product, validate dimensions, and show discrepancies when compared to CAD files. This information is essential for delivering a sound product and validating that the product is safe for distribution.
Implementing a quality control procedure is a definitive way to outshine other competing manufacturers and businesses. Customers want to see results along with a long-standing report of the quality of the products they are buying.
3D laser scanning for quality control is vital to industries such as aerospace and large-scale machinery. Your business will need the most precise 3D laser scanning system, software, and the ability to identify key data points that showcase your quality.
Not All Laser Scanners Are Created Equal
A quick Google search for 3D laser scanners delivers results spanning from 6-figure systems to downloading an app to use your phone as a scanner. Obviously, the quality of 3D scan data will also vary tremendously from all those options. However, when you are using 3D laser scanning for quality control, you will need the highest precision possible to detect discrepancies that are not seen by the naked eye. A more exact scanner will also be paired with software that will be able to deliver data in color mapping, whisker plots, and other dimensional analysis tools.
3D laser scanners are now offered in a variety of price points but with that fluctuation, you want to know that the precision is not compromised. Depending upon the tolerances needed in your product, will also determine the accuracy needed in a 3D laser scanner.
For example, a plastic toy submarine will not need to uphold the ultra-precise tolerances of an aerospace wing hydraulic, but as that toy manufacturer, you still want to deliver a product that has a consistent figure. This leaves customers confident in your product’s integrity and they will know what to expect on future purchases.
How to Scan Products for Quality
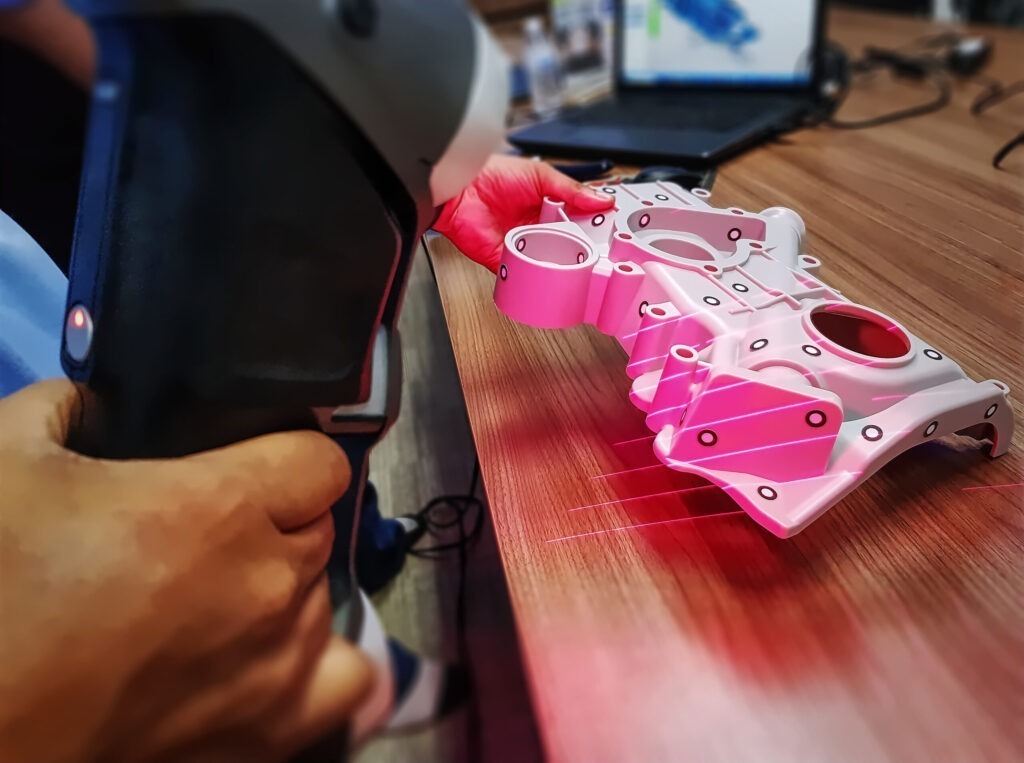
Now that you have invested into a 3D laser scanning system, how do you use it for quality control? With metrology-grade systems, you will want to be trained to use the system properly and I have a great article on how to use a 3D laser scanner. Most providers will send a technician to train you and your staff but I have found that the scanner’s full capability is found by using it over and over.
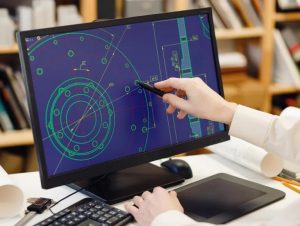
What do you need to scan to start judging the quality? You know your product best and may be aware of design issues including weak points and dimensions that are vital to its usage. 3D laser scanning for quality control will require you to identify, highlight what result is within spec, and establish a consistent reporting process.
To use a couple projects as example, say you are an injection molder and need to verify there is no excessive shrinkage in a model before molding 1000 pieces. Another example, visualizing if a bolt hole on a vehicle, intake manifold is within a few thousandths of a millimeter. 3D scan data will be able to report the hole dimension of that same bolt hole on each component. Identify which key features are important to your product and keep that as a measurement point for each product.
Identifying crucial data points will also minimize your scanning time. There is no need to scan each product in its entirety when just scanning your recognized features will tell you right away if there is an issue.
Your quality control routine will become streamlined this way and scan data is instant. 3D laser scanning for quality control can be done in batches, scanning multiple pieces at once and breaking up the data into individual files.
How to Analyze Scan Data for Quality
It is a substantial investment to purchase a 3D laser scanner. Not only do you buy the hardware, 3D laser scanning for quality control will require metrology-grade scanners that also need powerful native software. 3D laser scanner company Creaform, has its own software called VX Elements, and it include multiple applications to highlight quality control results; my favorite is the heat mapping, dimensional analysis tool.
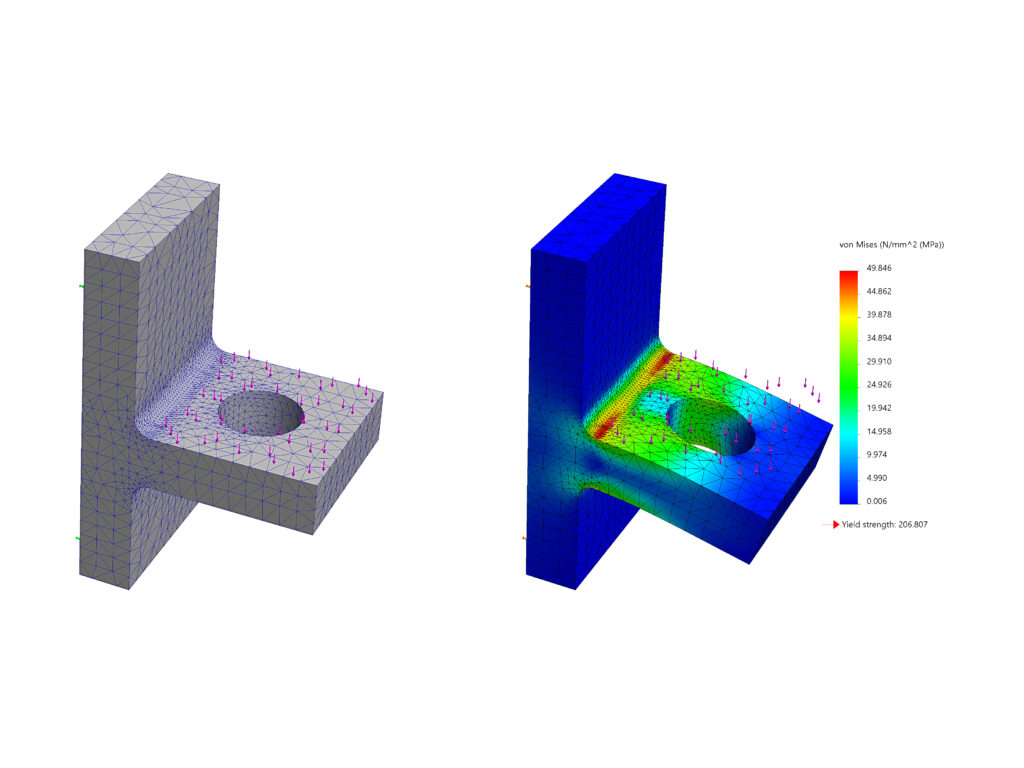
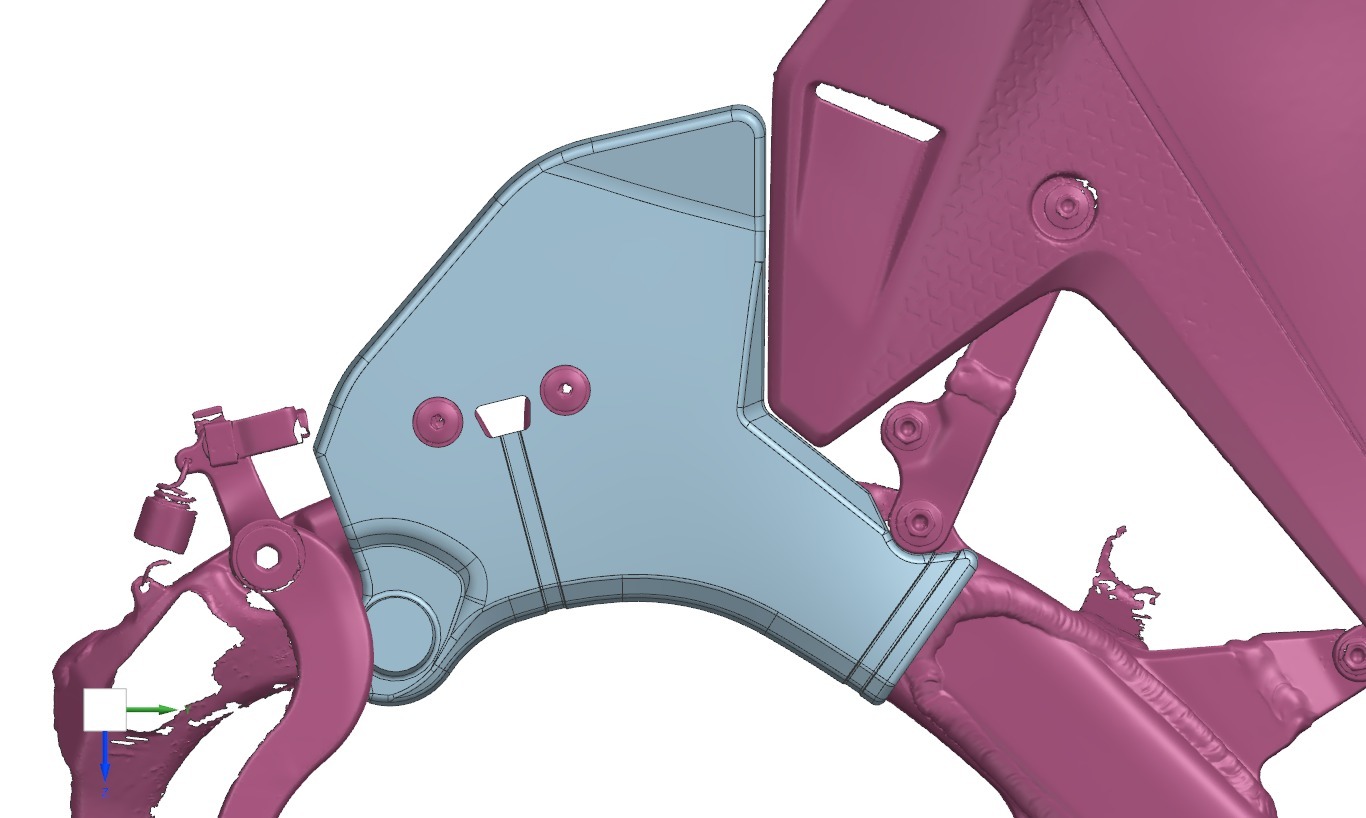
After the 3D laser scanning process is complete, there are a couple methods to analyze the data. From my experience, the initial data extraction process is the fastest way to see quality control results. This is the process of creating planes, cylinders, and circles that will determine the measurement of the element you are creating. You will need to know what your initial size requirement was in the design process, from either a CAD model or good, old-fashioned calipers, to then recognize any differences.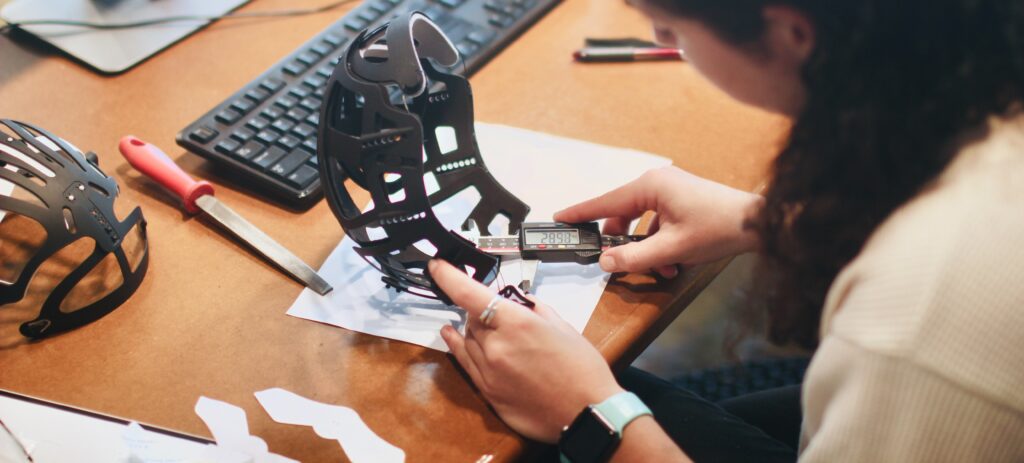
Another method is importing the CAD model that was used for the manufacturing process. From there you can then create the same orientation on the scan data as the 3D model and superimpose the two files on top of each other. Using just two colors to identify each file will show you the inconsistencies instantly. Both quality control methods can be done in a few minutes!
I mentioned that may favorite method is heat mapping process. More time extensive but this is a great way to highlight the consistency of a product throughout. By setting what your accepted tolerances are, a vivid color map will showcase the quality of production. In VX Elements, I can then click whichever surface I want and it gives me the exact measurement, to the thousandth.
Presenting 3D Scan Data Results
Now that you have created all this data, what do you with it? As I mentioned before, 3D laser scanning for quality control will require you to identify what is deemed acceptable and non-acceptable in your product. So, tell the story. Using basic software like Microsoft Office, I can create graphs and spreadsheets to record the data along with visualizing the results with photos of the results.
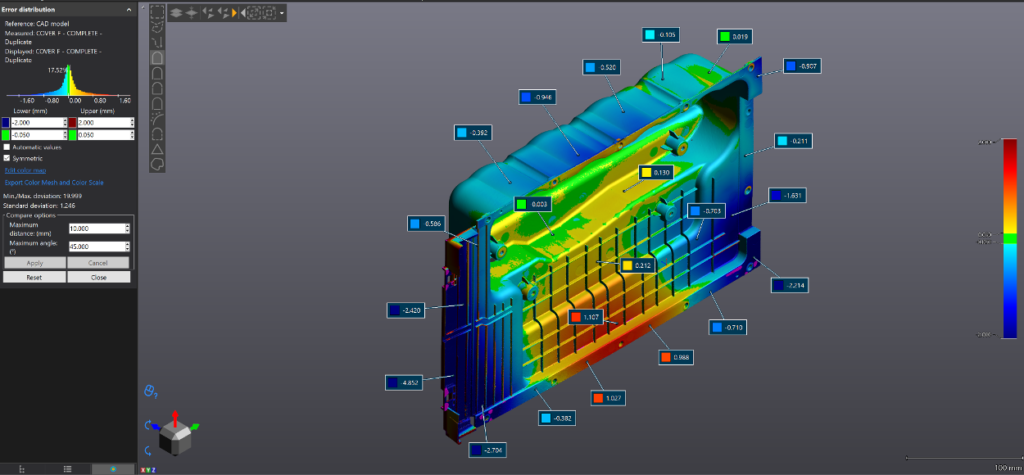
During my data extraction process, I will take screenshots of each result and compile them into folders for each product scanned. One feature I wish my 3D laser scanning software had is the ability to export a report or even save the photo of my model instead of having to screenshot, name, and save each result. I find that this is the most time-consuming portion of the quality control reporting process however it is needed to picture results. However, once the files are all created, I can create a report that can be reproduced and visualizes product trouble, instantly.
Third Party Service for Quality Control
As a part of 3D scanning services from a service provider like my company Tangent Solutions, we are seeing more clients request third party 3D laser scanning for quality control. As the world by globalization, parts and components of a large project are sourced from different manufacturers in the world. Time is wasted exponentially if a product is received damaged or not within spec and this could have been easily avoided by having a service provider validate quality before being shipped.
Using a third party to conduct the 3D laser scanning process also keeps results from any bias. A 3D scanning technician is sent on-site to scan a batch or an order’s entirety and able to share results quickly. Tolerances are clearly established by both manufacturer and customer, while being in the best interest of the supplier to validate their quality of work. This is service that can be offered to their existing clients, proving value in their services, and establishing a great working relationship.
3D laser scanning for quality control is a 3D scanning service that Tangent Solutions offers under the process of 3D inspection. Based upon the goals of your project, data analysis tools like heat mapping and data extraction are exceptional tools when used for quality control.


