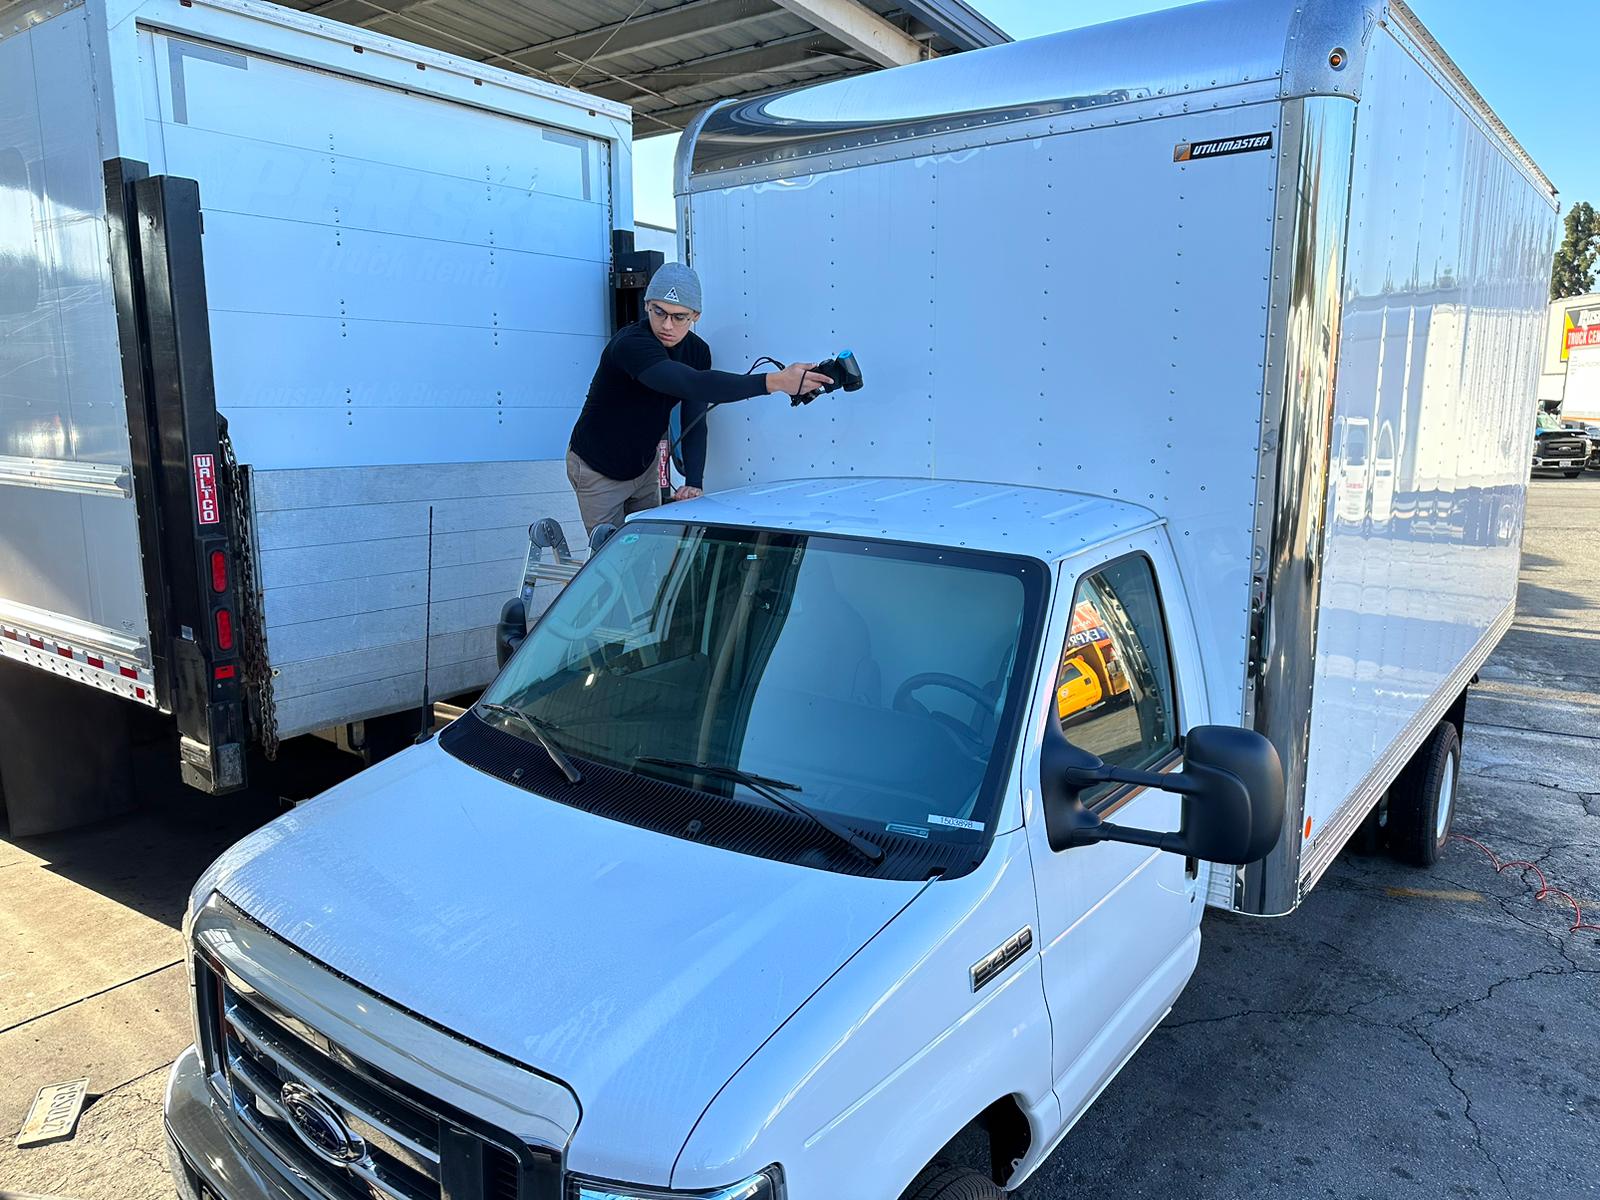
In the ever-evolving world of product design and manufacturing, the reverse engineering process stands as a cornerstone for innovation and improvement.
This transformative approach allows us to delve into the intricacies of product functionality, enabling us to unlock new possibilities.
One technology that has revolutionized the field of reverse engineering is 3D scanning. In particular, the application of 3D scanning technology has streamlined and enhanced the entire reverse engineering process. In this comprehensive guide, we will explore how the 6-step reverse engineering process works, with a primary focus on the role of 3D scanning.
What is the Reverse Engineering Process?
Reverse engineering, in the context of 3D laser scanning, refers to the process of analyzing and recreating physical objects into a digital 3D format.
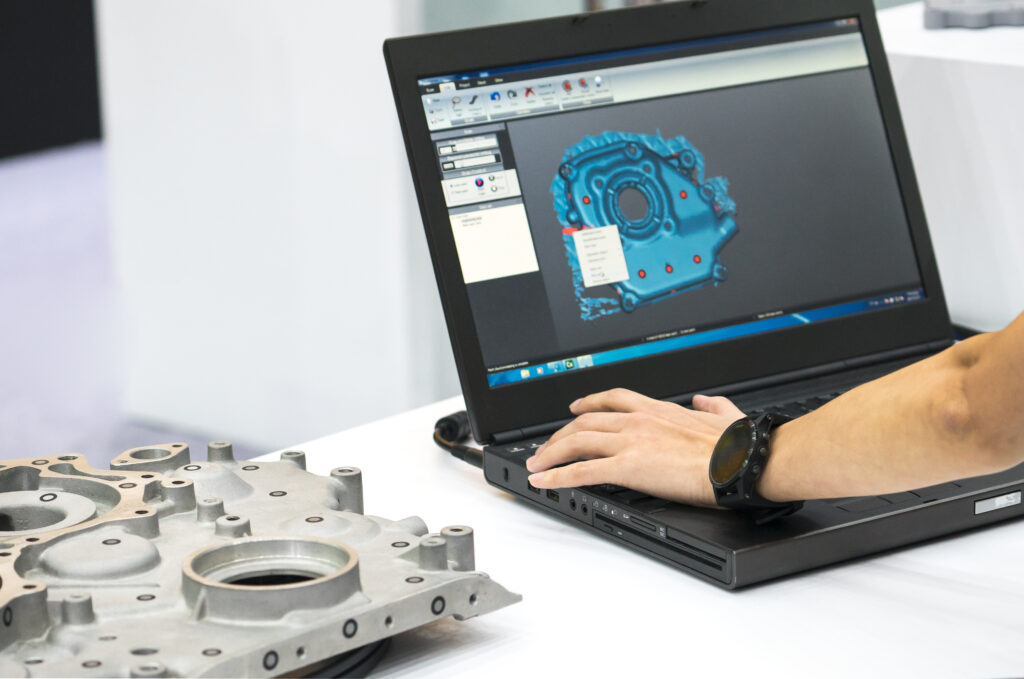
Scan data created during 3D laser scanning is created into a mesh, a collection of millions of data points in 3D space.
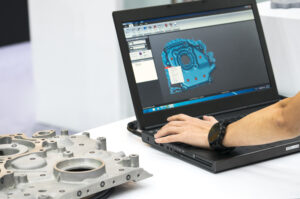
This point cloud represents the object’s surface with high accuracy, including its shape, dimensions, and even fine details.
From that mesh, a design engineer will draw the part into a parasolid; commonly in STEP, IGES, and XT format.
This is the mesh to CAD conversion step of reverse engineering.
The Significance of the Reverse Engineering Process
Reverse engineering is an indispensable tool in product manufacturing and modification, contributing to the betterment of our products and processes. At its core, reverse engineering empowers us to gain an in-depth understanding of product functionality, opening the door to endless possibilities for improvement and innovation. In today’s digital age, the integration of 3D scanning technology has significantly enhanced the efficiency and accuracy of the reverse engineering process.
The Power of 3D Scanning in Reverse Engineering
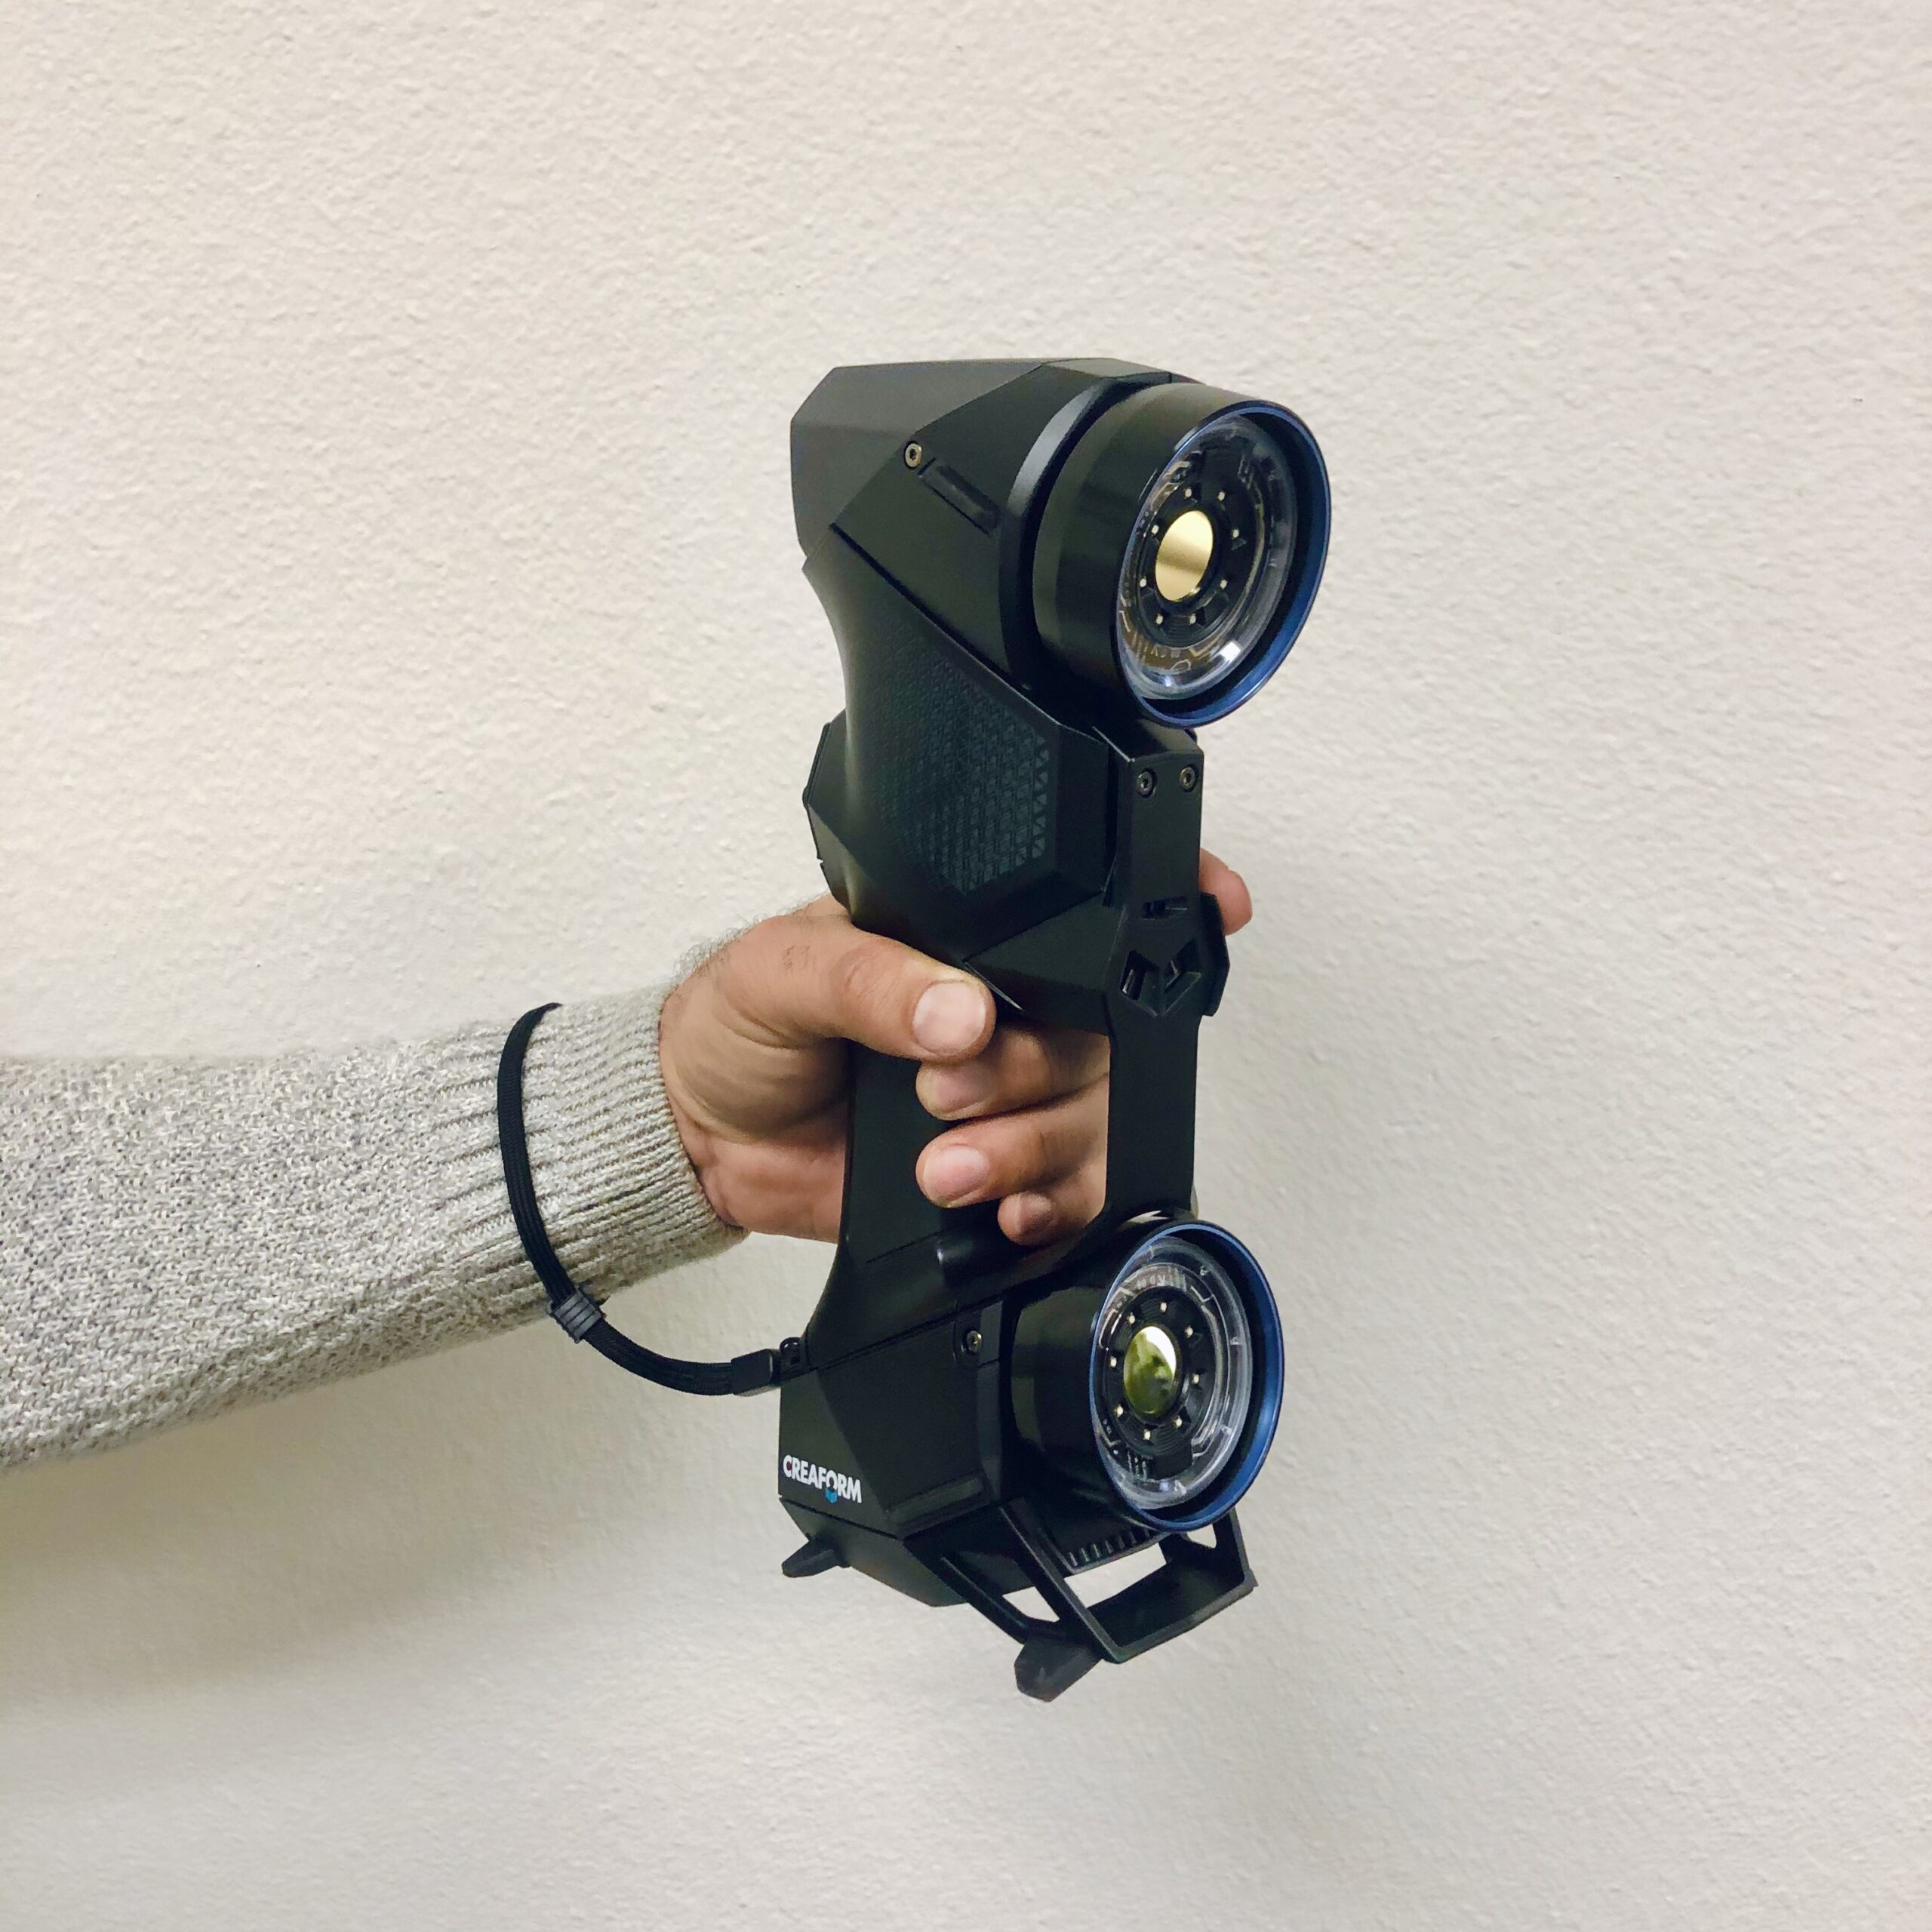
Gone are the days of manual disassembly for reverse engineering. The advent of 3D scanning, particularly laser-based scanners, has ushered in a new era of precision and speed. These cutting-edge scanners allow us to capture intricate product details and structures, transforming them into high-quality 3D models.
3D scanning, with its pinpoint accuracy, ensures that the reverse engineering process is faster and more efficient than ever before.
6 Steps to the Reverse Engineering Process
To fully grasp how the reverse engineering process with 3D scanning works, its essential to break it down into the following six steps:
Step 1 – Preparing the Object 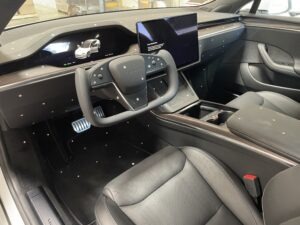
While 3D scanning is a rapid and efficient process, a bit of preparation is key to achieving the best results. Laser-based 3D scanners employ lasers to plot points and gather data on the measurements, size, and dimensions of the scanned object.
To ensure accuracy, it is imperative to cover reflective surfaces with a matte coating, preventing them from distorting the results and rendering them unusable.
Step 2 – Scanning the Object
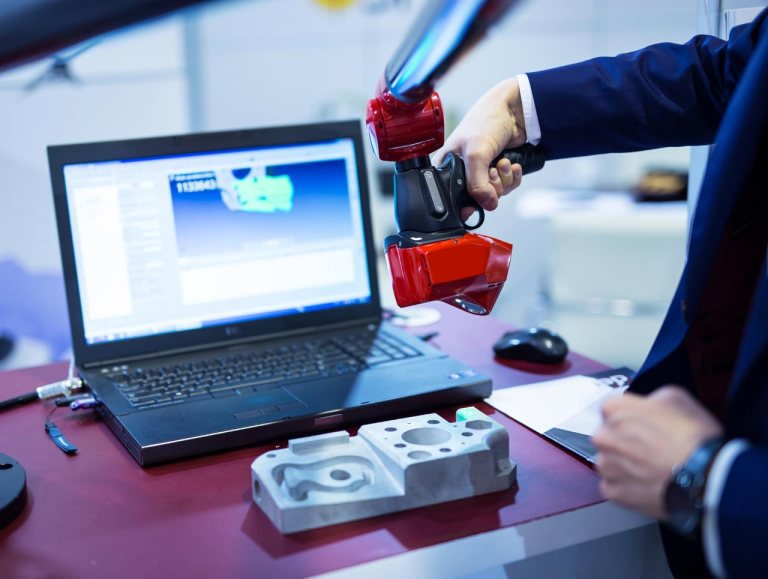
High-quality 3D scanners utilize lasers to create a digital mesh, meticulously outlining all the features of an object. During this process, the object is scanned from various angles, allowing the lasers to capture an abundance of data necessary for generating a precise and reliable mesh.
Among the different types of 3D scanners used for reverse engineering, the laser-based scanner stands out as the most dependable and widely used equipment.
Step 3 – Processing and Refining the Data 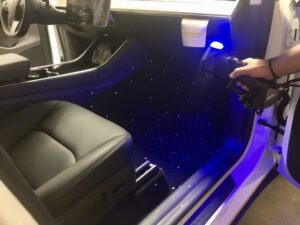
Following the initial scan, additional scans are often conducted to accentuate details and ensure the utmost accuracy in measurements. This meticulous process refines the digital mesh, ensuring that the resulting data file is of the highest precision.
Step 4 – Converting the File for CAD Use
The raw mesh file generated by the 3D scanner can be substantial and challenging to work with. While some clients may prefer to handle this file themselves for specific purposes, many opt to have it converted into a CAD file for ease of use.
At Tangent Solutions, we employ 3D rendering software to facilitate this conversion, acknowledging that the process may take longer for larger objects. CAD files are invaluable in reverse engineering, as they provide detailed measurements and other essential features.
Step 5 – Creating a CAD Model
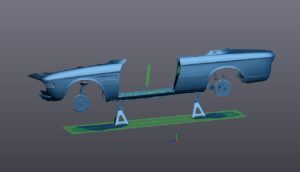
Our experienced team at Tangent Solutions possesses the capability to craft comprehensive CAD models in various file formats, tailored to your preferred software. A fully-rendered CAD model serves a multitude of purposes, including simulations, optimization, and beyond.
The versatility of your CAD model opens doors for diverse applications, including 3D printing.
Step 6 – Completing Your Project
The final step in the reverse engineering process varies depending on the unique needs of our clients. Reverse engineering serves multifaceted purposes, encompassing research and development, as well as the enhancement of existing designs.
CAD files can be modified for prototyping, aiding businesses in maintaining systems that may lack readily available replacement parts. A comprehensive 3D scan provides the foundation for recreating these crucial components, ensuring business continuity. 
The End Result
In conclusion, the 6-step reverse engineering process, with a central focus on 3D scanning, has redefined product design and manufacturing. The integration of cutting-edge technology has revolutionized the way we understand and improve our products.


